How to Install Quartz Countertops – A Step-by-Step Guide
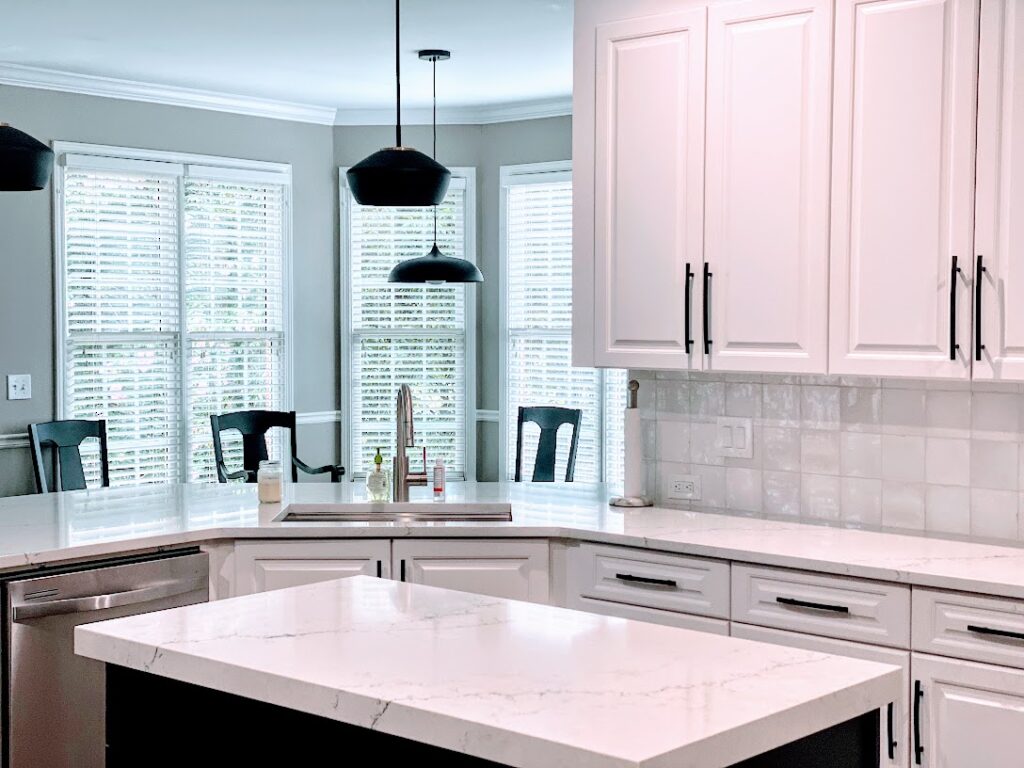
Quartz countertops have become popular for homeowners due to their durability, elegant appearance, and low maintenance requirements. Whether upgrading a kitchen or designing a new space, installing quartz countertops requires precision and attention to detail. This guide provides a comprehensive installation process overview, ensuring a successful outcome.
Preparing for Installation
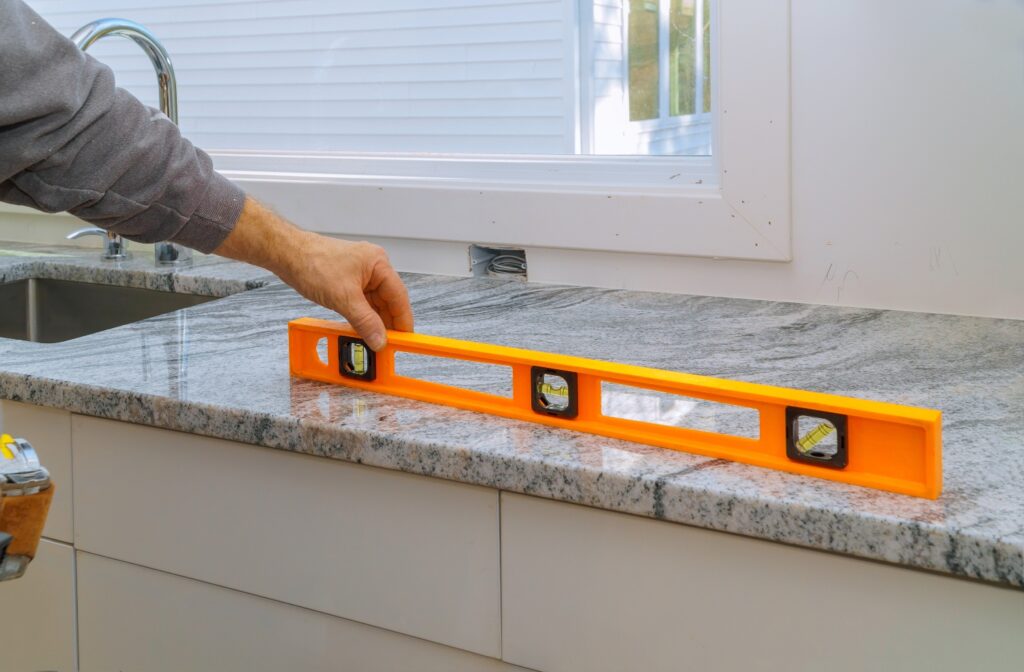
Proper preparation is essential before beginning the installation. Start by measuring the counter space accurately, ensuring the dimensions align with the planned design. Quartz slabs are heavy, so having a clear path for moving materials is necessary. It’s also crucial to verify that cabinets are level and structurally sound, as they must support the weight of the quartz without shifting over time. Additionally, determine whether any reinforcements are required to support the added weight, particularly for larger spans of quartz.
Step 1: Gather Necessary Tools and Materials
To complete the installation efficiently, ensure that the following tools and materials are available:
- Measuring tape
- Level
- Adhesive (silicone or epoxy)
- Clamps
- Circular saw with a diamond blade
- Safety gear (gloves, goggles, dust mask)
- Caulk and a caulk gun
- Painter’s tape
- Shims (if needed for adjustments)
- Screwdrivers and fasteners
- Soft cloths for cleanup
- Utility knife
- Sandpaper (for edge smoothing)
Having everything prepared in advance helps streamline the process and prevents delays. Selecting high-quality adhesives and cutting tools is particularly important to achieve a professional finish and avoid chipping.
Step 2: Remove Existing Countertops
If replacing an old countertop, carefully remove it by unscrewing fasteners and disconnecting plumbing fixtures. Take care to avoid damaging cabinets or walls during removal. Once the surface is cleared, clean the area thoroughly to remove dust and debris, ensuring a smooth base for the new quartz slab. Some countertops, such as granite or laminate, may require additional effort for removal. In some cases, professional assistance is advisable to prevent damage to the existing cabinetry.
Step 3: Dry-Fit the Quartz Countertop
Before applying adhesive, position the quartz slab on the cabinets to confirmthe proper fit. If adjustments are needed, mark the necessary cuts with painter’s tape and use a circular saw with a diamond blade for precision. Double-check the alignment, ensuring the countertop sits flush with the walls and edges.
If there are multiple slabs, align the seams correctly and check for potential gaps. Using a plywood template can help visualize placement and minimize errors before making permanent modifications.
Step 4: Secure the Countertop with Adhesive
Apply a bead of silicone adhesive along the top of the cabinet framework. Gently lower the quartz slab into place, pressing down evenly to secure it. Use clamps to hold the countertop steady while the adhesive sets. Allow sufficient time for curing, usually 24 hours, before proceeding with further steps.
Using the correct type of adhesive for quartz installation is essential, as some products may not provide the necessary bonding strength. A specialized stone adhesive is preferable for ensuring a lasting hold.
Step 5: Seam Alignment and Finishing
For installations requiring multiple slabs, seam placement is key. Align seams carefully and apply adhesive along the joint. Use seam-setting clamps to create a tight bond, minimizing visibility. Once dry, buff the seams to achieve a smooth finish.
To enhance the seamless look, colored epoxy can be used to match the quartz material. Sanding the joint lightly after curing ensures an even, polished finish. Keeping the surface free of dust and debris during this stage is critical.
Step 6: Install the Backsplash
A backsplash enhances the overall look while protecting walls from moisture and spills. Apply adhesive to the back of the quartz pieces and press them firmly against the wall. Secure with painter’s tape until fully set.
If the backsplash needs to be cut to fit electrical outlets or other fixtures, mark the cutouts carefully before making adjustments. A wet saw with a diamond blade is ideal for precise cuts.
Step 7: Reinstall Plumbing and Fixtures
Once the countertop is securely in place, reinstall the sink, faucet, and any necessary plumbing connections. Apply caulk around sink edges to prevent water seepage. Double-check all fixtures to ensure they are properly sealed.
For under-mount sinks, ensure proper adhesion between the sink and the quartz. Using clamps to hold the sink in place while the adhesive cures will help maintain a strong bond. Once reconnected, always check for leaks.
Step 8: Final Touches and Cleanup
Wipe down the surface with a mild cleaner to remove any adhesive residue. Inspect the installation for any gaps or imperfections, applying additional caulk as needed. Allow everything to set completely before using the countertop for daily tasks. Avoid placing heavy objects on the surface during curing to prevent shifting.
Using a high-quality quartz polish can enhance the natural shine and provide additional protection against stains. To keep the countertop in optimal condition, be sure to follow the manufacturer’s care instructions.
Cost Considerations and Maintenance Tips
Installing quartz countertops involves material costs, fabrication, and labor expenses. Pricing varies based on thickness, edge design, and custom cutouts.
Maintaining quartz surfaces is relatively simple. Clean with a gentle soap and water solution, avoiding harsh chemicals that could dull the finish. Cutting boards, hot pads, and trivets can help prevent damage from excessive heat and sharp objects. While quartz is highly resistant to scratches and stains, regular maintenance will extend its lifespan.
Common Mistakes to Avoid
While quartz countertop installation is a manageable project, mistakes can lead to costly errors. Here are a few common pitfalls and how to avoid them:
- Incorrect Measurements – Always double-check measurements before making cuts. Small miscalculations can result in poorly fitting slabs.
- Using the Wrong Adhesive – Not all adhesives work with quartz. Ensure that the product is designed for stone surfaces to prevent future detachment.
- Neglecting Seam Placement – Poorly placed seams can disrupt the appearance of the counter. Carefully plan and align them for the best results.
- Failing to Support Heavy Slabs – Large quartz slabs require sufficient support. Reinforce cabinets if necessary to prevent sagging or breakage over time.
- Skipping the Dry-Fit Stage – Always position the slabs before applying adhesive. This allows for last-minute adjustments that can prevent installation mishaps.
Conclusion
By following these steps, homeowners can achieve a flawless quartz countertop installation that enhances the beauty and functionality of their space. Proper preparation, precise execution, and routine maintenance ensure long-lasting performance and satisfaction with the final result. At Atlanta Stone Creations, we specialize in providing premium quartz countertops in Atlanta, Georgia, and surrounding areas in South Carolina and North Carolina. Whether you’re looking for a new kitchen design or a bathroom upgrade, our expert team is here to assist with high-quality materials and professional installation services.

Val Carvalho is a manager at Atlanta Stone Creations, with nearly two decades of experience in the stone and design industry. In addition to her leadership role, Val plays a key part in sales and design, bringing creativity, precision, and a strong sense of style to every project. Known for her warm and collaborative approach, she builds strong relationships with both her team and her clients. Val is passionate about delivering beautiful, high-quality results and creating an exceptional experience from start to finish.

