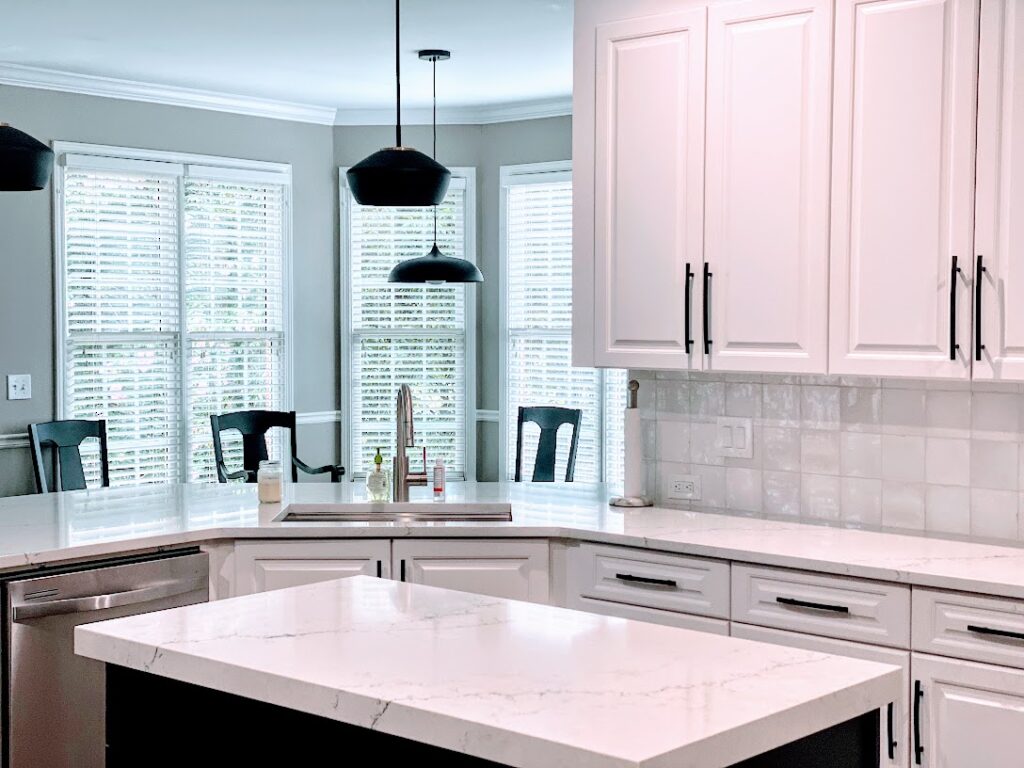
DIY Granite Countertop Repair: A Step-by-Step Guide
Granite countertops are striking in any kitchen or bathroom, but accidents happen. Chips, cracks, and other damages can compromise the surface’s beauty and functionality. Fortunately, repairing these imperfections doesn’t always require professional help. With the right tools and techniques, homeowners can restore their granite countertops to their original glory. This comprehensive guide walks you through the repair process and provides essential tips for maintaining these timeless surfaces.
Assessing the Damage
Before diving into repairs, it’s important to evaluate the extent of the damage. Is the countertop chipped, cracked, or scratched? Minor chips and small cracks are typically manageable with DIY methods, while extensive damage or structural issues may require professional intervention.
How to Identify Repair Needs
- Examine the surface under bright light.
- Feel for uneven areas with your hand.
- Use a flashlight to detect any fissures or deep cracks.
Consider consulting a fabricator or contractor if the damage is widespread or affects the countertop’s structural integrity. For minor issues, continue with the steps below.
Tools and Materials You’ll Need
To ensure a successful repair, gather the necessary tools and materials beforehand. Here’s a list of commonly used items:
- Epoxy resin or acrylic filler
- Granite repair kit
- Razor blade or utility knife
- Sandpaper (varying grits)
- Microfiber cloths
- Stone-safe cleaner
- Masking tape
- Small mixing stick or applicator
- Color-matching pigment (if needed)
- Buffing pad or polishing compound
These readily available items will make the repair process smoother and more efficient.
Step-by-Step Guide to Repairing Granite Countertops
Step 1: Clean the Surface
Begin by thoroughly cleaning the damaged area. Use a stone-safe cleaner to remove dirt, grease, or debris. Wipe it dry with a microfiber cloth to ensure no moisture remains.
Step 2: Protect Surrounding Areas
Apply masking tape around the damaged section to protect the surrounding surface. This ensures that adhesives or fillers don’t spread to undamaged areas during the repair process.
Step 3: Mix the Epoxy or Filler
Follow the instructions on your granite repair kit to mix the epoxy resin or acrylic filler. If color matching is required, add the appropriate pigment to blend seamlessly with your countertop.
Step 4: Apply the Filler
Use a small applicator or stick to apply the filler to the damaged area. For chips, ensure the material fills the void completely. Work the filler into the fissure for cracks to create a strong bond.
Step 5: Smooth the Surface
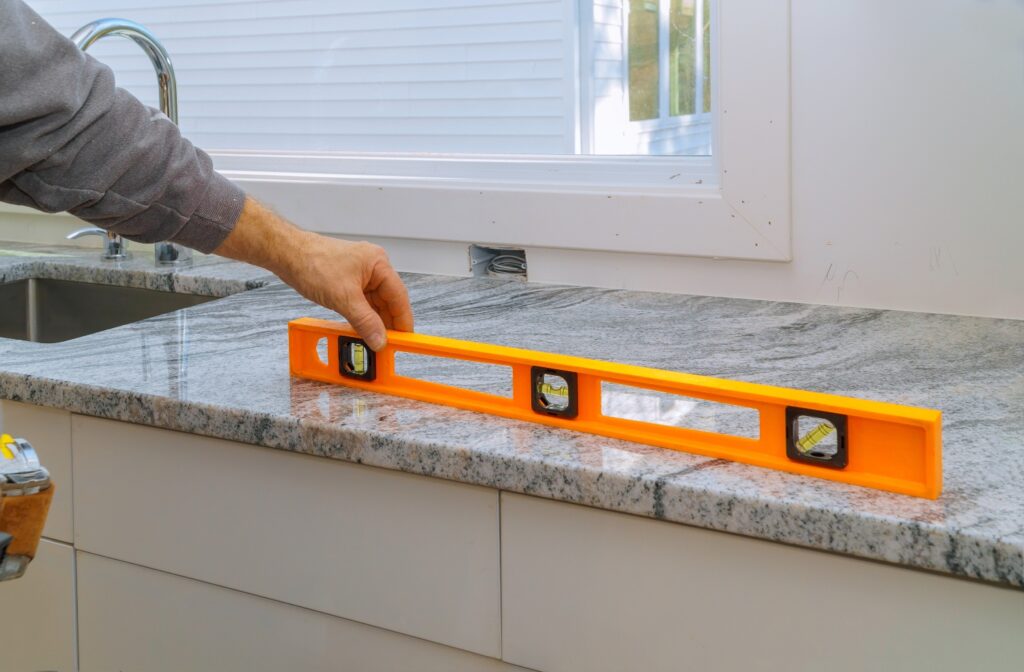
After applying the filler, use a razor blade to level it with the surrounding countertop. Be gentle to avoid scratching or removing excess material from the repair site.
Step 6: Allow to Cure
Let the filler cure according to the manufacturer’s instructions. This typically takes several hours, but some products may require overnight curing.
Step 7: Sand and Polish
Once the filler has hardened, use fine-grit sandpaper to smooth the repaired area. Gradually move to higher grits for a polished finish. After sanding, buff the surface with a polishing compound to restore its shine.
Tips for Repairing Specific Issues
Fixing Chips
A pre-mixed epoxy filler works well for small chips. After applying the filler, use a damp cloth to wipe away any excess before it sets.
Repairing Cracks
Wider cracks may require a combination of adhesive and filler. Apply the adhesive first to bond the separated pieces, then use filler to level the surface.
Addressing Scratches
Minor scratches can often be buffed out using polishing pads and a stone-safe polishing compound. For deeper scratches, sanding may be necessary before polishing.
Preventing Future Damage
Once your countertop is repaired, take steps to prevent future issues:
- Use Cutting Boards: Avoid cutting directly on the countertop to prevent scratches.
- Clean Spills Immediately: Wipe up acidic or oily spills to avoid staining.
- Avoid Heavy Impacts: Avoid handling heavy pots or objects near the countertop edges.
- Seal Regularly: Apply a quality granite sealer to protect the surface from moisture and stains.
When to Seek Professional Help
While DIY methods are effective for minor repairs, certain situations require expert assistance. Consider hiring a professional if:
- The damage affects the structural stability of the countertop.
- You’re dealing with extensive cracks or large missing pieces.
- Repairs require specialized tools or techniques beyond your skill level.
Common Mistakes to Avoid
- Skipping Surface Preparation: Properly cleaning and drying the area can compromise the repair.
- Using Incorrect Materials: Always choose products designed specifically for granite to avoid additional damage.
- Rushing the Curing Process: Allow sufficient time for adhesives and fillers to set before sanding or polishing.
Quartzite Compared to Other Countertop Materials
When compared to other countertop materials, quartzite has some advantages and disadvantages. Granite, for example, is also durable and heat-resistant, but it necessitates regular sealing to prevent staining. Marble, on the other hand, is a stunning and refined choice, but it is more prone to staining and etching than quartzite. Quartz, a man-made material, is also durable and requires low maintenance, but it cannot match the natural look of quartzite.
Conclusion
Repairing granite countertops is manageable for homeowners willing to invest time and effort. Following this step-by-step guide and using the right tools can effectively address chips, cracks, and scratches. Atlanta Stone Creations is here to help with more significant repairs or professional advice. With proper care and maintenance, your granite countertops will continue to enhance your home’s beauty and value for years.

Val Carvalho is a manager at Atlanta Stone Creations, with nearly two decades of experience in the stone and design industry. In addition to her leadership role, Val plays a key part in sales and design, bringing creativity, precision, and a strong sense of style to every project. Known for her warm and collaborative approach, she builds strong relationships with both her team and her clients. Val is passionate about delivering beautiful, high-quality results and creating an exceptional experience from start to finish.

