Replacing kitchen countertops can completely transform your kitchen, giving it a fresh, modern look. Countertops are not only functional surfaces but also significant design elements that impact the overall aesthetic of your kitchen.
This guide will take you through the entire process of replacing your kitchen countertops, from understanding your material options to the final installation. Whether you’re considering granite, quartz, marble, or quartzite, this comprehensive guide will help you make informed decisions and ensure a successful kitchen upgrade.
Understanding Kitchen Countertops
Kitchen countertops come in various materials, each offering unique benefits and styles. The most popular options include granite, quartz, marble, and quartzite, known for their durability and beauty. Trends in kitchen countertops have evolved, with homeowners now favoring materials that combine aesthetics with practical benefits.
Why Replace Your Kitchen Countertops?
Replacing your kitchen countertops can enhance your home’s aesthetic appeal, increase its property value, and improve functionality. Outdated or damaged countertops can make a kitchen look worn and reduce its usability. New countertops provide a fresh look and better performance, making meal preparation and other activities more enjoyable.
Planning Your Countertop Replacement
Before you start the replacement process, it’s crucial to plan. Determine your budget, set a realistic timeline, and decide whether you’ll hire professionals or tackle the project yourself. Budgeting is essential as costs can vary significantly based on the material and installation method.
Choosing the Right Material
Selecting the right material is a critical step. Here’s a brief overview of some popular choices:
- Granite: Known for its natural beauty and durability.
- Quartz: Engineered stone offering consistency and low maintenance.
- Marble: Luxurious and elegant, but requires more care.
- Quartzite: Natural stone that’s harder than granite and offers unique patterns.
- Laminate: Budget-friendly and comes in various styles.
- Butcher Block: Adds warmth with a natural wood finish.
Granite Countertops
Pros and Cons: Granite is incredibly durable and heat-resistant, but it requires sealing to prevent stains. Installation Tips: Ensure proper support and professional installation to handle the weight.
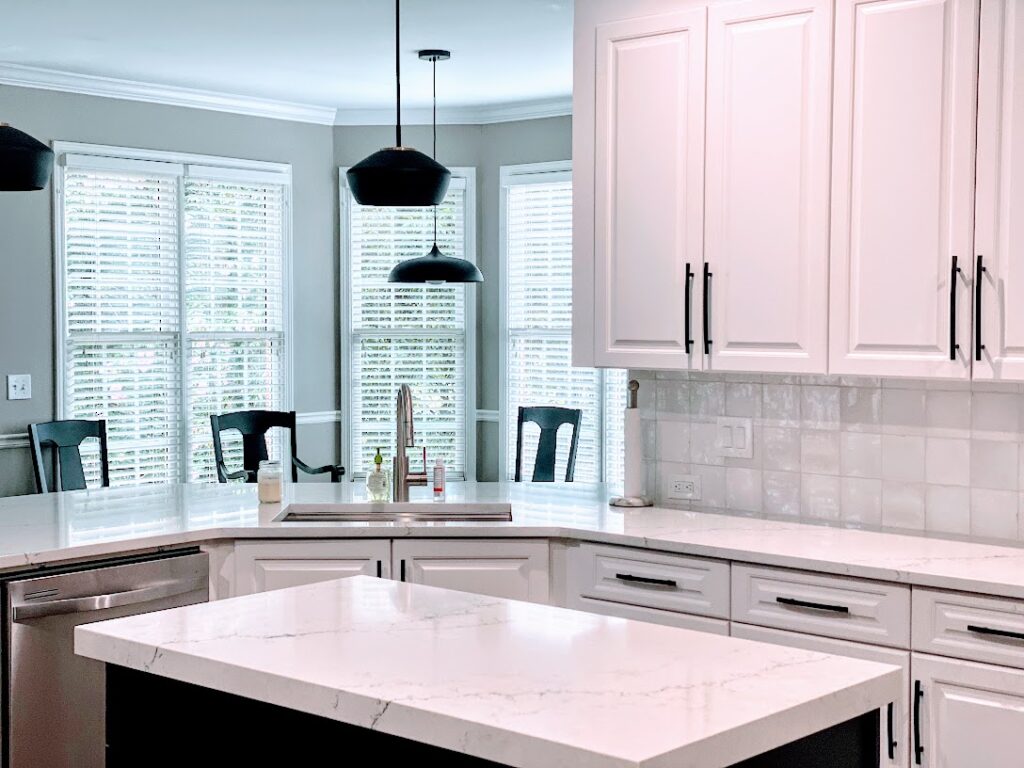
Quartz Countertops
Pros and Cons: Quartz is non-porous, making it resistant to stains and bacteria. However, it’s not as heat-resistant as granite. Installation Tips: Since it’s heavy, professional installation is recommended to avoid damage.
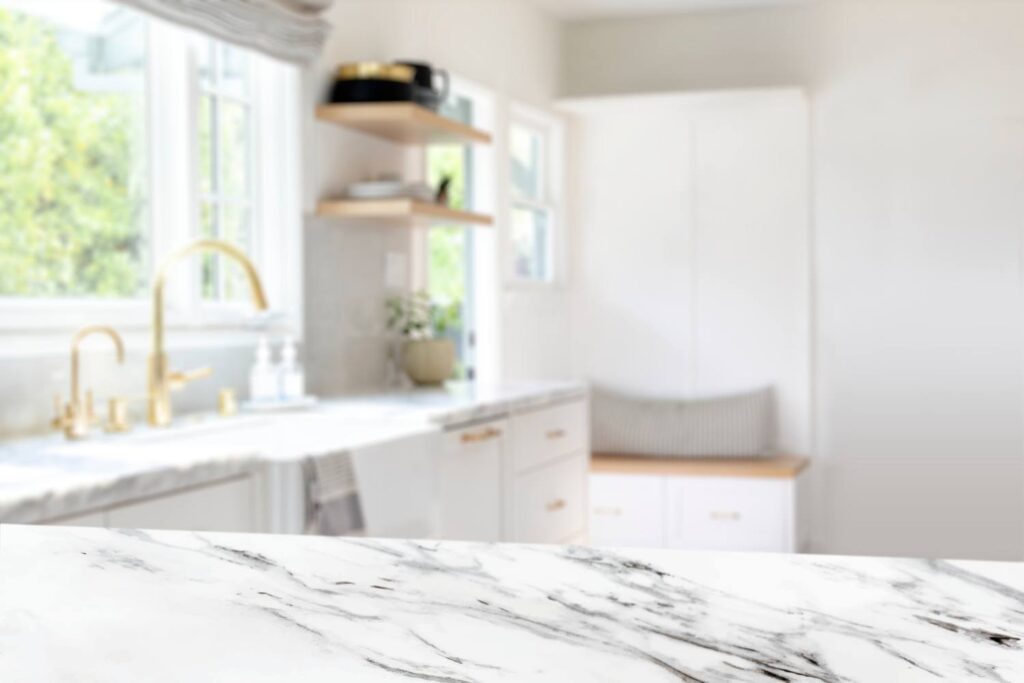
Marble Countertops
Pros and Cons: Marble offers a timeless look and unique veining but is prone to scratching and staining. Installation Tips: Requires careful sealing and maintenance to preserve its appearance.
Quartzite Countertops
Pros and Cons: Quartzite is extremely durable and has a unique, natural appearance but can be expensive. Installation Tips: Professional installation is essential due to its hardness and weight.
Removing the Old Countertop
When it’s time to remove the old countertop, having the right tools and following a systematic process is essential.
Tools Needed: To remove an old countertop, you’ll need a pry bar, utility knife, screwdrivers, and safety gear such as gloves and goggles.
Step-by-Step Guide:
- Disconnect Plumbing and Appliances: Start by turning off the water supply and disconnecting any plumbing fixtures and appliances connected to the countertop.
- Remove Old Caulk: Use a utility knife to cut through the caulk around the edges of the countertop.
- Unscrew Countertops from Cabinets: Locate and unscrew the brackets or screws holding the countertop to the cabinets.
- Lift and Dispose of the Old Countertop: Carefully lift the countertop with assistance if needed, and dispose of it properly.
Safety Precautions: Always wear protective gear like gloves and goggles to avoid injuries. Ensure proper ventilation when using tools that produce dust or fumes.
Preparing for the New Countertop
Preparation is key to a successful countertop installation.
Measuring: Accurate measurements are crucial to ensure the new countertop fits perfectly. Measure the dimensions of the cabinets and the space where the countertop will sit.
Cutting: Depending on the material of the new countertop, use the appropriate tools for cutting. Precision is vital to avoid mistakes.
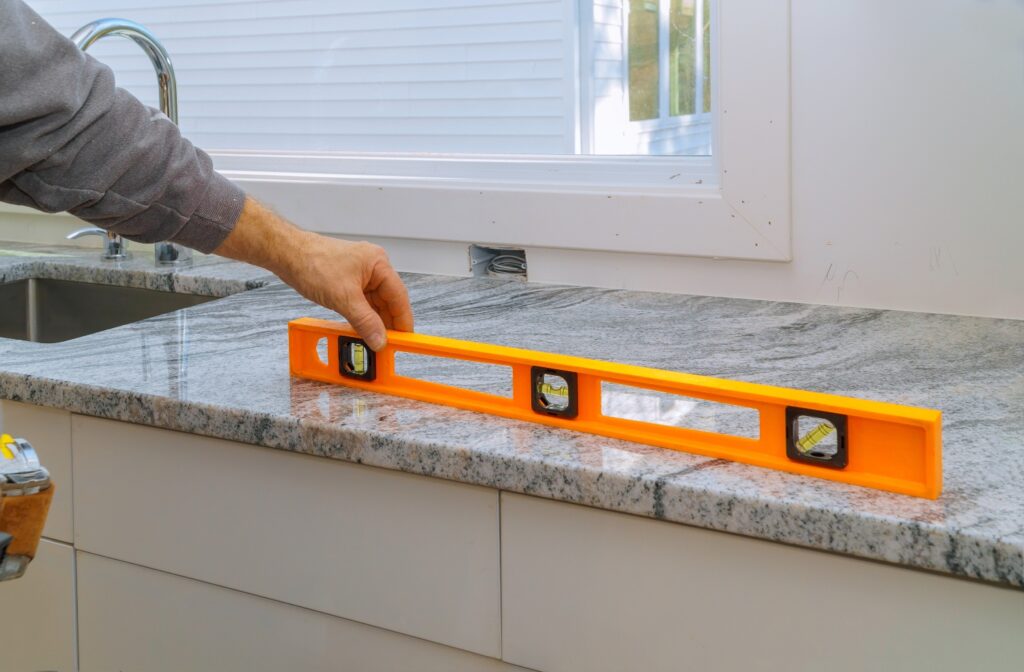
Leveling: Before placing the new countertop, make sure the cabinets are level. Use shims if necessary to adjust the height and ensure an even surface.
Installing Granite Countertops
Granite countertops add elegance and durability to any kitchen.
Detailed Process:
- Measure and Cut the Granite: Use specialized tools to cut the granite to the exact measurements.
- Apply Adhesive: Apply a strong adhesive to the cabinets to secure the granite.
- Place the Countertop: Carefully place the granite slab onto the cabinets and align it properly.
- Secure It: Ensure the countertop is securely attached and stable.
Sealing: Apply a high-quality sealant to protect the granite from stains and damage.
Maintenance Tips: Clean granite countertops with mild soap and water, and avoid abrasive cleaners to maintain their shine and durability.
Installing Quartz Countertops
Quartz countertops are known for their consistency and low maintenance.
Detailed Process:
- Measure and Cut the Quartz: Cut the quartz slabs to fit your kitchen dimensions.
- Use Adhesive: Apply adhesive to the top of the cabinets.
- Secure and Align: Place the quartz countertop, ensuring proper alignment and stability.
Sealing: Sealing is not required for quartz countertops as they are non-porous.
Maintenance Tips: Use a non-abrasive cleaner and avoid harsh chemicals to keep your quartz countertops in pristine condition.
Installing Marble Countertops
Marble countertops add a touch of luxury and elegance but require careful handling.
Detailed Process:
- Measure and Cut the Marble: Precisely measure and cut the marble slab.
- Apply Adhesive: Use a suitable adhesive to attach the marble to the cabinets.
- Carefully Place the Countertop: Place the marble carefully to avoid cracks or chips.
Sealing: Regularly seal marble countertops to prevent stains and damage.
Maintenance Tips: Clean with a pH-neutral cleaner and avoid acidic substances to maintain the marble’s beauty.
Installing Quartzite Countertops
Quartzite countertops offer unique patterns and exceptional durability.
Detailed Process:
- Measure and Cut the Quartzite: Ensure precise measurements and cuts.
- Apply Adhesive: Use adhesive to secure the quartzite to the cabinets.
- Secure Properly: Place the quartzite slab and ensure it is firmly attached.
Sealing: Sealing is necessary to protect quartzite from stains and etching.
Maintenance Tips: Clean with mild soap and water, and reseal as needed to maintain the quartzite’s appearance.
Finishing Touches
Edging: Choose from various edge profiles like beveled, bullnose, or ogee to add a polished look to your countertop.
Backsplash: Installing a complementary backsplash protects the walls and enhances the overall kitchen design.
Final Adjustments: Check for any gaps or misalignments and ensure everything is secure and properly adjusted.
Maintenance and Care
Daily Cleaning: Use mild soap and water for daily cleaning, avoiding harsh chemicals that can damage the countertop surface.
Long-term Care: Regularly reseal natural stones and avoid heavy impacts to keep the countertops in good condition.
Preventing Damage: Use cutting boards for chopping and trivets for hot pans to prevent scratches and heat damage. Wipe spills immediately to avoid staining.
Cost Analysis
Material Costs: The cost of materials varies widely based on the type of countertop you choose. Granite, quartz, marble, and quartzite all have different price ranges.
Installation Costs: Professional installation adds to the overall cost but ensures a quality finish.
Hidden Expenses: Don’t forget to account for removal and disposal of the old countertop and any additional fixtures or modifications needed.
DIY vs. Professional Installation
Pros and Cons: DIY installation can save money but requires specific skills and tools. Professional installation ensures quality, warranty, and a stress-free process.
When to DIY: Simple materials like laminate or butcher block can be installed by handy homeowners.
When to Hire a Pro: For heavy and complex materials like granite, quartz, or marble, it’s best to hire professionals.
Common Mistakes to Avoid
Measurement Errors: Always double-check all measurements before cutting to avoid costly mistakes.
Improper Sealing: Proper sealing is essential to protect your countertops from stains and damage.
Overlooking Support: Ensure the cabinets can support the weight of the new countertop to prevent structural issues.
Final Thoughts
Replacing kitchen countertops is a significant project that can enhance the beauty and functionality of your kitchen. By carefully planning, choosing the right materials, and following proper installation steps, you can achieve a stunning and long-lasting result. Whether you opt for the natural beauty of granite, the durability of quartz, the elegance of marble, or the unique patterns of quartzite, this guide provides all the information you need to make your kitchen countertop replacement a success.
Read More About Kitchen Countertops:

Val Carvalho is a manager at Atlanta Stone Creations, with nearly two decades of experience in the stone and design industry. In addition to her leadership role, Val plays a key part in sales and design, bringing creativity, precision, and a strong sense of style to every project. Known for her warm and collaborative approach, she builds strong relationships with both her team and her clients. Val is passionate about delivering beautiful, high-quality results and creating an exceptional experience from start to finish.